How to Publish AI Content to WordPress (Step-by-Step)
How to publish AI content to WordPress (step-by-step)
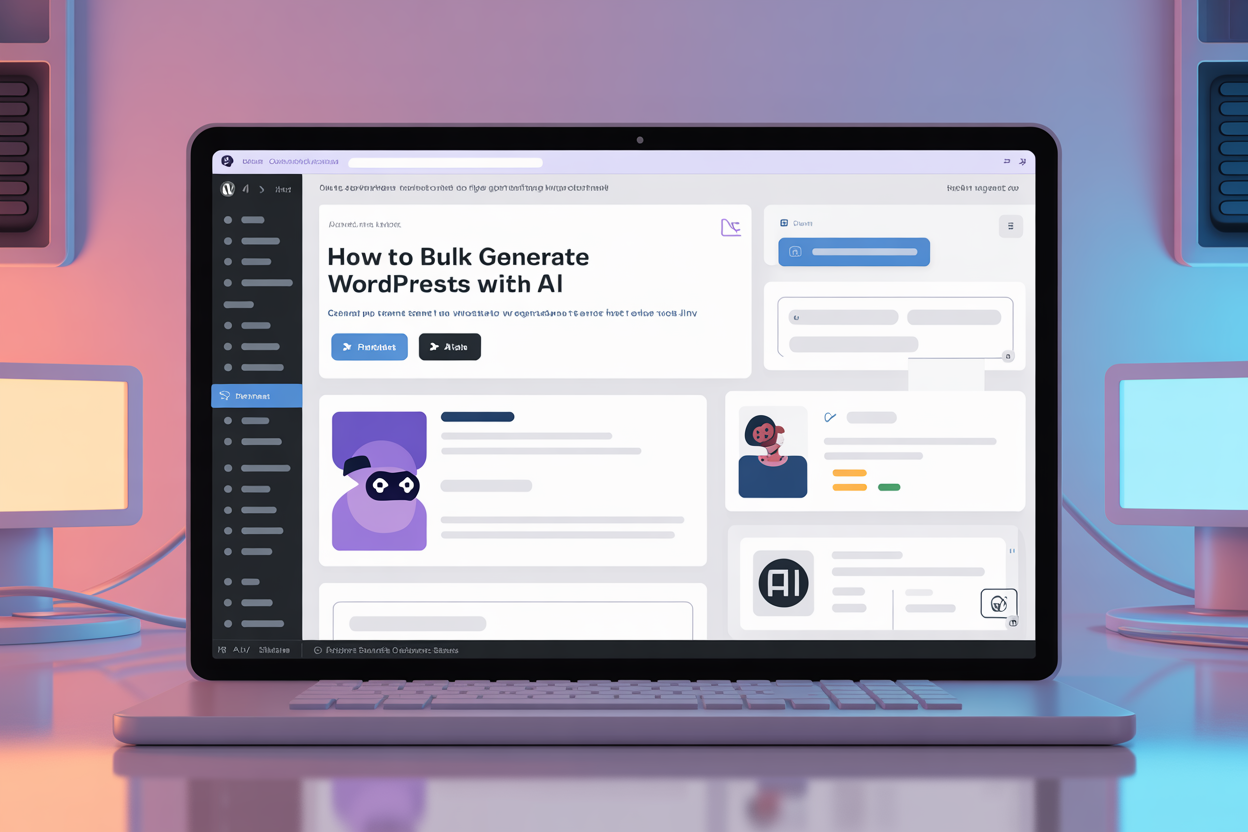
This guide shows you how to connect WordPress to SEORise, generate a structured draft, and publish clean HTML without breaking Gutenberg. For the product overview, visit our WordPress AI content generator page.
You will see the exact workflow we use in production: from connector setup and metadata to QA, scheduling, and governance.
Prerequisites
- WordPress admin access to install and activate the SEORise plugin.
- A SEORise account (the WordPress integration is included by default).
- Target keyword or working title, search intent notes, and internal link targets.
- A lightweight QA checklist covering tone, accuracy, links, and schema.
Optional but recommended: staging environment for testing the connector before production.
Step 1: Install and connect
- Download the SEORise connector plugin and install it from your WordPress dashboard.
- Activate the plugin and click Connect in the plugin banner. You will be redirected to the SEORise app.
- Log in (or sign up) and approve the connection. Your site immediately appears in the SEORise publish dropdown.
- Repeat the connect flow for any additional sites you manageeach one is stored in the same account.
Tip: leave the publish mode on Draft while you refine approvals, then switch to Publish once the workflow is trusted.
Step 2: Create and publish an article
- Inside SEORise choose New WordPress article and pick the connected site from the dropdown.
- Enter the working title and primary keyword, then select language, tone, style, and length.
- Review the suggested outline, lock any must-have sections, and add notes (internal links, screenshots, quotes).
- Click Generate draft. Preview the article, make edits, and choose Publish or Save as draft.
- The article appears instantly inside WordPress with the content, metadata, and formatting intact.
Adjusting tone and structure before you publish keeps WordPress clean-up to a minimum.
Optional: tune Yoast or Rank Math
Once the post lands in WordPress, Yoast or Rank Math will read the content automatically. Use the plugin to:
- Double-check readability prompts and tweak wording where necessary.
- Add internal or external links that werent part of the initial draft.
- Confirm the meta description and social previews match your campaign messaging.
Step 3: Publish and QA
- If you published straight away, open the post in Gutenberg to verify formatting and links.
- If you saved as draft, open the WordPress draft, apply any edits, and hit Publish.
- Confirm headings, lists, tables, and quotes render correctly and match your style guide.
- Add final internal links, external citations, and tweak tone or calls to action.
- Run your SEO plugin checklist (green bullets are nice, accuracy is mandatory).
Finish with a read-through focused on flow and factual accuracy. Only then schedule or publish.
Team workflow and approvals
Keep quality high by assigning clear roles:
- Author: fills the SEORise brief, tunes prompts, and generates drafts.
- Reviewer: approves the draft inside SEORise or WordPress before it goes live.
- Publisher: owns final WordPress QA, scheduling, and campaign tagging.
Use draft-only mode plus reviewer approval to prevent unreviewed posts from going live.
Schedule AI-generated posts
Scheduling works exactly like any other WordPress post:
- Keep SEORise in draft mode, then set publish date and time inside WordPress.
- Use the calendar view or editorial plugins to map multiple posts across a sprint.
- Add final reminders: internal links in future posts, CTA updates, or campaign tags.
Keep formatting clean
Direct publishing preserves structure. If you must copy HTML manually, switch to the Code editor and follow these checks:
- One H1 per article, descriptive H2 and H3 blocks, no empty paragraphs.
- Lists use <ul> or <ol> tags only, with no nested spans or inline styles.
- Images include descriptive alt text and load with lazy loading enabled.
Featured image, categories, and tags
Consistent taxonomy helps readers and search engines. After publishing from SEORise, review the draft in WordPress:
- Assign featured image, categories, and tags (or keep existing WordPress defaults).
- Add alt text that follows your accessibility guidelines.
- Update internal link modules or related posts widgets if the article is cornerstone content.
Troubleshooting checklist
- Connection fails: reinstall the plugin, click Connect, and sign in again while logged in to SEORise.
- Draft does not appear: make sure you selected the correct WordPress site before publishing.
- Formatting issues: open the post in Gutenberg, remove stray blocks if you edited manually, and republish.
- Metadata missing: refresh the WordPress postmetadata syncs automatically from SEORise.
Capture fixes in your QA checklist so the team does not repeat the same mistakes.
Next steps
Compare tools in our best WordPress AI content generators roundup and choose the workflow that pairs with this process.
Last updated: 2025-10-04